


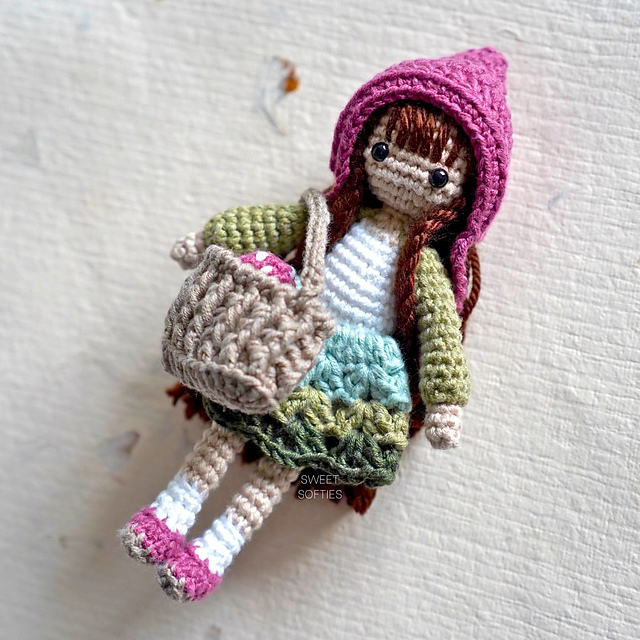
Meet Raina the Rainbow Doll — a cheerful and cuddly amigurumi that's bursting with color and creativity! This beginner-friendly, low-sew crochet pattern is quick to make and endlessly customizable, making it perfect for gifts, craft fairs, or showing off your unique style.
Raina the Rainbow Doll is a plush amigurumi doll pattern wearing a multicolored shirt. This sweet crochet pattern is easily customizable with different colors — perfect for Pride, sports teams, school mascots, and more. Designed with soft plush yarn, it’s a cuddly size for children, or you can use thinner yarn to create a cute keychain. Beginner-friendly and low-sew, it features a no-sew body (you only need to attach the hair cap), making it quick and easy for last-minute gifts, craft fairs, or personalized creations.


About the Pattern
- Fast to work up
- Low-sew (the body is completely no-sew; you only need to sew the hair cap to the head at the end!)
- Easy / Beginner-friendly
- Cuddly size of 8 inches in height
- Fast last-minute gift
- Product to sell at craft fairs and markets (Please remember to credit my design with my name and site if you are selling, such as: "Pattern design by Sweet Softies, www.sweetsofties.com", or "Doll base pattern by Sweet Softies, www.sweetsofties.com")
Personalize it!
You can use this doll as a base and customize it in any way you want! Use different skin tones, add different accessories and embellishments, and change yarn colors for endless possibilities. Here are some ideas:
- Pride & the different Pride identities
- Sports teams
- Universities and school colors/mascots
- "Mini me" dolls
- Favorite characters
- ...and more!
Recommended Yarn
Designed with soft plush yarn, it’s a cuddly size for children at about 8 inches in height! I recommend the chenille velvet yarns from Hobbii, such as Honey Bunny, Baby Snuggle, and Toucan. They're super bulky weight 6 yarns, and I pair them with a 5mm hook.
You can also use thinner yarn and a smaller hook to create a cute keychain size doll!

PDF Pattern
The PDF pattern is printable, ad-free, easy to read, and helps support Sweet Softies! (If you enjoy my free patterns, you can consider it as a donation to me when you buy one of my pattern PDFs! It allows me to maintain my blog and continue sharing more free patterns.)

RAINA THE RAINBOW DOLL
Free Amigurumi Crochet Pattern
Terms of Use & Copyright Notice © 2025 Sweet Softies (www.sweetsofties.com). You have permission to sell finished products made from this pattern, but you must credit Sweet Softies as the owner/creator of this pattern by linking to my website (www.sweetsofties.com). No wholesale. You may not translate, copy, alter, or sell my patterns in part or in whole in any way. My patterns may not be used in video tutorials or teaching online classes. My patterns may be used in teaching in-person classes ONLY with written consent from me. You may link to this pattern but you may not copy any part of the pattern instructions on other websites.

Pattern Info
Size:
Height: 8 inches (20.5 cm)
Level of Difficulty:
★★☆☆☆ Beginner/Easy. Requires familiarity with stitches used (below), changing yarn colors, and sewing pieces together.Stitches/Terms Used:
- FO = fasten off
- ch = chain
- sl st = slip stitch
- sc = single crochet
- inc = increase (insert 2 sc in same st)
- dec = decrease (sc 2 sts together)
- tr = treble (triple) crochet
Materials:
- Super bulky weight 6 yarn in desired colors (I used Hobbii's Honey Bunny yarn)
- 5mm crochet hook (I use these)
- Two 12mm plastic safety eyes (I use these)
- Fiberfill stuffing
- Yarn needle
- Scissors
Crochet Instructions
Note: The free version of the pattern comes in written instructions (below). If you want an ad-free printable version of the written instructions with LOTS of photo references, please download the low-cost PDF pattern.
ARMS (x2)
R1: Ch 2, insert 6 sc in the 2nd ch from hook. (6)R2-R3: Sc around. (6)
Switch colors every round from R4-R10.
R4-R8: Sc around. (6)
R9: Sc 4, dec. (5)
R10: Sc 3, dec. (4)
FO with a tail to weave in later. No need to stuff the arm, as the space is very narrow.
LEGS (x2)
Start with black yarn.R1: Ch 2, insert 8 sc in the 2nd ch from hook. (8)
R2: Sc around. (8)
R3: Sc 2, dec 2, sc 2. (6)
Switch to purple yarn.
R4-R9: Sc around. (6)
FO with a tail to weave in later. No need to stuff the leg, as the space is very narrow.
BODY
Note: Arms and legs must be completed before beginning the body.Make sure both toes are pointed towards you. Squeeze the last round of the leg on the right. Attach yarn to the right side of the leg.
R1 [Joining Row]: Ch 1. Sc across the leg, going into the front and back sts to keep it closed with 3 sc. Ch 4. Pinch the last round of the second leg flat, then sc 3 across the second leg. (6 sc, 4 ch)
R2: This round will be worked in the outer loops of the sts made in R1, beginning with the 10 loops in the back of the body, then the 10 loops in the front of the body.
Inc, sc 8, inc 2, sc 8, inc. (24)
Switch to blue.
R3-R4: Sc around. (24)
Switch to green.
R5: (Sc 6, dec) x 3. (21)
R6: Sc around. (21)
Switch to yellow.
R7: (Sc 5, dec) x 3. (18)
R8: Sc around. (18)
Switch to orange.
R9: (Sc 4, dec) x 3. (15)
R10: Sc around. (15)
Switch to red.
R11 [Attaching the Arms]: Sc 3 (this should be around the center of the backside. If not, add or remove sts until you reach the center of the backside). Sc 3. Now, at the side of the body, pick up an arm to attach. Insert hook into two side sts in the Arm’s R10 and into the next st in the body to make a sc. Then, insert your hook into the last two sts in the Arm’s R10 and into the next st in the body to make a sc. Sc 5.
This is the end of the round, but we will continue for two more sts to attach the second arm.
Attach the second arm for the next 2 sts. This will be the new start to your round.
Stuff the body well.
R12: Sc. Dec 7. (8)
Without FO, continue with the ‘Head’ instructions.
HEAD
Note: Continue from R12 of the body.Switch to skin-colored yarn.
R1: In FLO, inc around. (16)
R2: (Sc, inc) x 8. (24)
R3: (Sc 2, inc) x 8. (32)
R4-R8: Sc around. (32)
R9: (Sc 2, dec) x 8. (24)
Insert 12mm eyes between R5-R6, 6 sts apart. Stuff the head.
R10: (Sc, dec) x 8. (16)
R11: Dec around. (8)
FO with a tail for sewing the opening closed. [Photo 14]
HAIR CAP
Use hair-colored yarn.R1: Ch 2, insert 8 sc in the 2nd ch from hook. (8)
R2: Inc around. (16)
R3: (Sc, inc) x 8. (24)
R4: (Sc 2, inc) x 8. (32)
R5-R9: Sc around. (32)
R10 [pigtails & bangs]: Sc 3. Ch 3, then in the same st: tr 2, ch 4, sl st. (This makes the first pigtail.) Sc 9. In the next st: sl st, ch 3, tr. Tr 4. In the next st: tr, ch 3, sl st. Sc 9. Ch 2. In the next st: tr 2, ch 4, sl st. Sc 2. Sl st in the last st.
FO with a very long yarn tail for sewing to the head later.
FINISHING
Simply position the hair cap diagonally over the head (making sure the bangs are front and centered). Using the long yarn tail from the hair cap and a yarn needle, sew it to the head.
Thank you for reading, and hope you had a fun time crocheting this project! If you'd like to help out my blog, feel free to check out my post, "5 Ways to Support my Blog!"
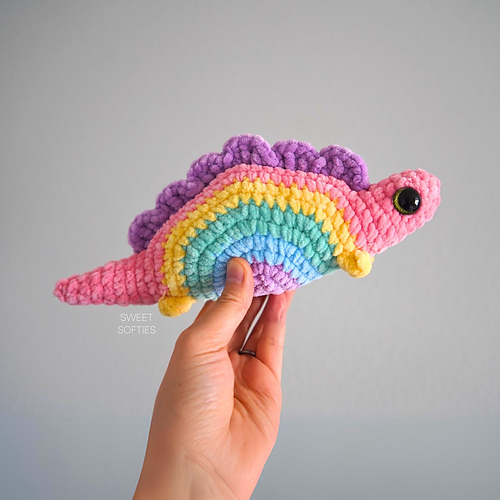
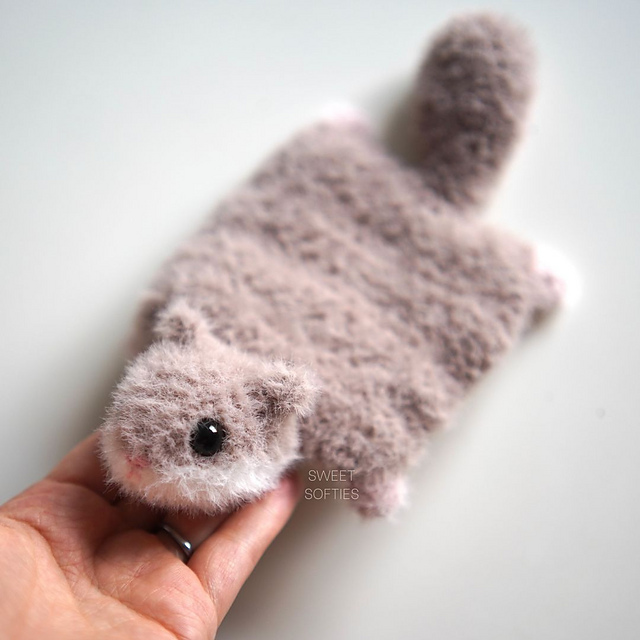
You might like my other designs if you enjoyed this one! Simply click on the image below for the pattern, or check out all my free patterns here.
I'd love to see your finished work from my designs! Here are links for sharing photos of your creations:
Best wishes,

Disclosure: This post may contain affiliate links, meaning I get a commission if you decide to make a purchase through my links, at no cost to you.
.jpg)
.jpg)


