


Looking for a charming and cheerful crochet project that’s as fun to make as it is to use? Meet the Bee & Bloom Bookmark!
This quick, low-sew pattern from the Sweet Softies’ Chapter Keepers Collection is perfect for using up scrap yarn while creating something truly delightful. Featuring an adorable bumblebee on one end and a flower blossom on the other, this whimsical design adds a playful, nature-inspired touch to your favorite book. Whether you're crafting for yourself, gifting to a fellow bookworm, or stocking your craft fair booth, this sweet little project is sure to bee a hit!


About the Pattern
- Fast to work up
- Low-sew
- Easy / Beginner-friendly
- Flower size: 3.5cm across
- Bee size: 3.8cm across
- Stem (bookmark portion) is easily adjustable in length
- Great teacher appreciation gift, or gift for book lovers and bee lovers!
- Perfect product to sell at Spring and Summer markets and craft fairs! (Please remember to credit my design with my name and site if you are selling, such as: "Pattern design by Sweet Softies, www.sweetsofties.com")

Recommended Yarn
This pattern is designed using fingering weight 1 yarn, making it lightweight and delicate! My recommended yarn for this project is Friends Cotton 8/4 from Hobbii. If a bulkier yarn weight is used, the finished bookmark will be larger.

Want more?
The Bee & Bloom Bookmark is part of Sweet Softies' Chapter Keepers Collection! For more, check out the roundup at Chapter Keepers: Free Crochet Bookmark Patterns.

PDF Pattern
The PDF pattern is printable, ad-free, easy to read, and helps support Sweet Softies! (If you enjoy my free patterns, you can consider it as a donation to me when you buy one of my pattern PDFs! It allows me to maintain my blog and continue sharing more free patterns.)

BEE & BLOOM BOOKMARK
Free Amigurumi Crochet Pattern
Terms of Use & Copyright Notice © 2025 Sweet Softies (www.sweetsofties.com). You have permission to sell finished products made from this pattern, but you must credit Sweet Softies as the owner/creator of this pattern by linking to my website (www.sweetsofties.com). No wholesale. You may not translate, copy, alter, or sell my patterns in part or in whole in any way. My patterns may not be used in video tutorials or teaching online classes. My patterns may be used in teaching in-person classes ONLY with written consent from me. You may link to this pattern but you may not copy any part of the pattern instructions on other websites.

Pattern Info
Size:
Bee is approximately 1.5 inches across
Bookmark length is easily adjustable
Level of Difficulty:
★★☆☆☆ Familiar Beginner. Requires familiarity with stitches used (below).Stitches/Terms Used:
- MR = magic ring
- FO = fasten off
- ch = chain
- sl st = slip stitch
- sc = single crochet
- inc = increase (insert 2 sc in same st)
- hdc = half double crochet
- dc = double crochet
- tr = treble (triple) crochet
- FLO = front loops only
Materials:
- Fingering weight “1” yarn in yellow, black, white, green (I used Hobbii Friends Cotton 8/4)
- 2.75mm crochet hook (I use these)
- Stuffing
- Yarn needle
- Scissors
Crochet Instructions
Note: The free version of the pattern comes in written instructions (below). If you want an ad-free printable version of the written instructions, please download the low-cost PDF pattern.
FLOWER
Start with yellow yarn for the center.R1: Insert 5 sc in a MR. Tighten the ring. (5)
R2: Inc around. (10)
Sl st in the next st (this will count as the first st in R3). Switch to white yarn for the petals.
R3: Ch. (Sc+dc+tr in the first st, tr+dc+ch+sl st in the next st) x 5. (5 petals)
Sl st in the next st. Switch to green yarn for the stem. Continue with the leaf instructions.
LEAF
- Ch 9.
- Starting from the 2nd ch from the hook: Sl st, sc, hdc, dc 2, hdc+sc in the next st.
- Turn and continue working on the other side of the leaf. Sc+hdc in the first st. Dc 2 in the next st. Hdc, sc, sl st.
- Now, work down from the tip to the base of the leaf using the surface sl st method (insert hook underneath each st, then YO and pull through for a sl st).
- Sl st back into the stem.
- To make a second leaf, repeat steps #1-5.
- Without FO, continue with the stem instructions.
STEM
- Ch 70, or however long you want the stem to be.
- FO with a long tail for sewing later.
BEE'S BODY
Note: The bee is worked from head to bottom.Start with yellow yarn. Switch to black yarn in the [black stripe] rounds.
R1: In a MR, insert 6 sc. Tighten the ring. (6)
R2: Inc around. (12)
R3: (Sc, inc) x 6. (18)
R4-R5: Sc around. (18)
R6 [black stripe]: Sc around. (18)
R7: Sc around. (18)
R8 [black stripe]: Sc around. (18)
R9: Sc around. (18)
R10 [black stripe]: Sc around. (18)
R11-R12: Sc around. (18)
R13: (Sc, dec) x 6. (12)
Stuff the body well.
R14: Dec around. (6)
FO with a tail for sewing the opening closed.
BEE’S WINGS
Use white yarn.R1: In a MR: (ch, dc, tr 2, dc, ch, sl st) x 2. Tighten the ring. This will form the shape of two circles.
R2: Sl st in to the space between the first ch and dc. Sc on the dc. On top of the first tr: sc+hdc+dc. On top of the second tr: dc+hdc+sc. Sc on the dc. Sl st into the space between the dc and ch. Sl st into the MR in R1.
The first wing is complete. Repeat these instructions to add R2 to the second wing.
FO with a long tail for sewing to the bee.
FINISHING
- Sew the wings to the center of the bee’s back, between R7-R9.
- To make the antennae, pull black yarn under and out sts (between R3-R4) at the top of the bee’s head. Knot the ends of the antennae and trim the ends.
- Using the long yarn tail from the stem, sew it to the center of the bee’s back (between the wings).
- Weave in all ends. Congratulations on finishing!

Want to share your finished Bee & Bloom Bookmark?
I'd love to see what you make on Instagram, @SweetSofties!
Thank you for reading, and hope you had a fun time crocheting this project! If you'd like to help out my blog, feel free to check out my post, "5 Ways to Support my Blog!"
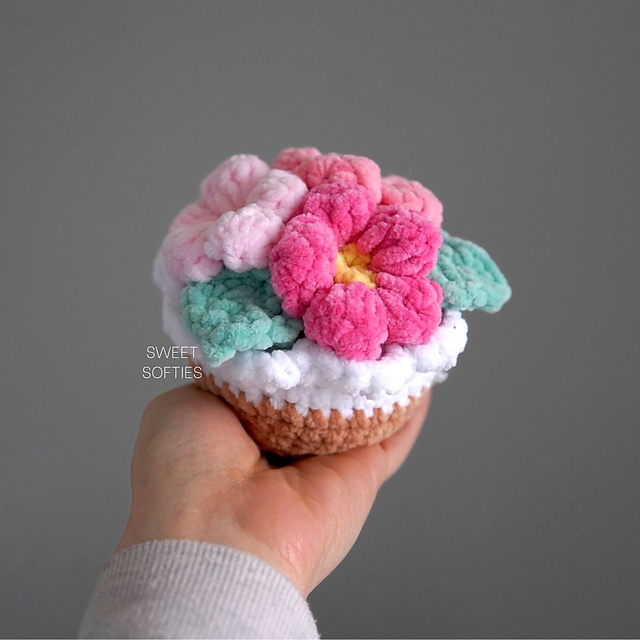
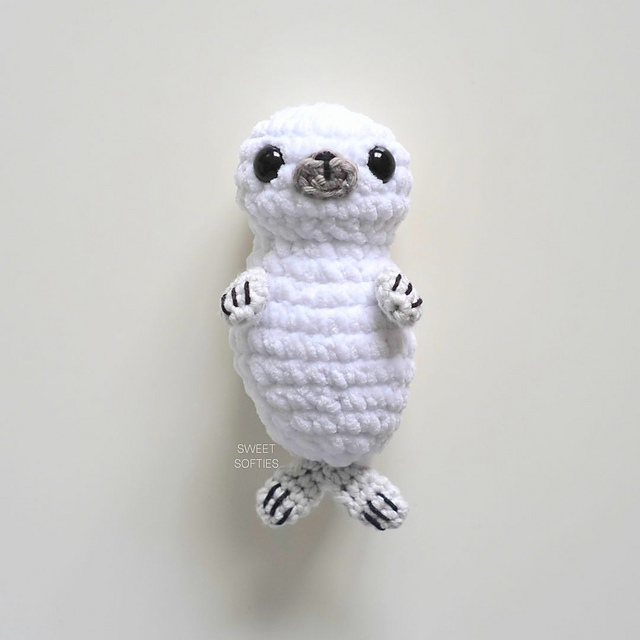
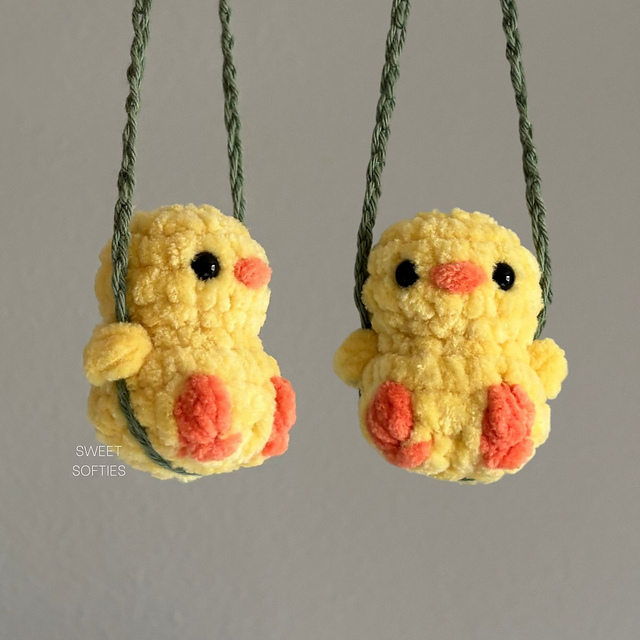
You might like my other designs if you enjoyed this one! Simply click on the image below for the pattern, or check out all my free patterns here.
I'd love to see your finished work from my designs! Here are links for sharing photos of your creations:
Best wishes,

Disclosure: This post may contain affiliate links, meaning I get a commission if you decide to make a purchase through my links, at no cost to you.
.jpg)
.jpg)


